These Alaska Photography tips are for all photographers whether you are a beginner on an Alaska Cruise vacation or an experienced shooter. These tips will help you leave Alaska with amazing photography that you can enjoy for years to come. While cameras can now take good photos, using a professional camera will allow you to take amazing photos that can even be made into beautiful prints for your home.
What Camera Should I Use for Alaska Photography
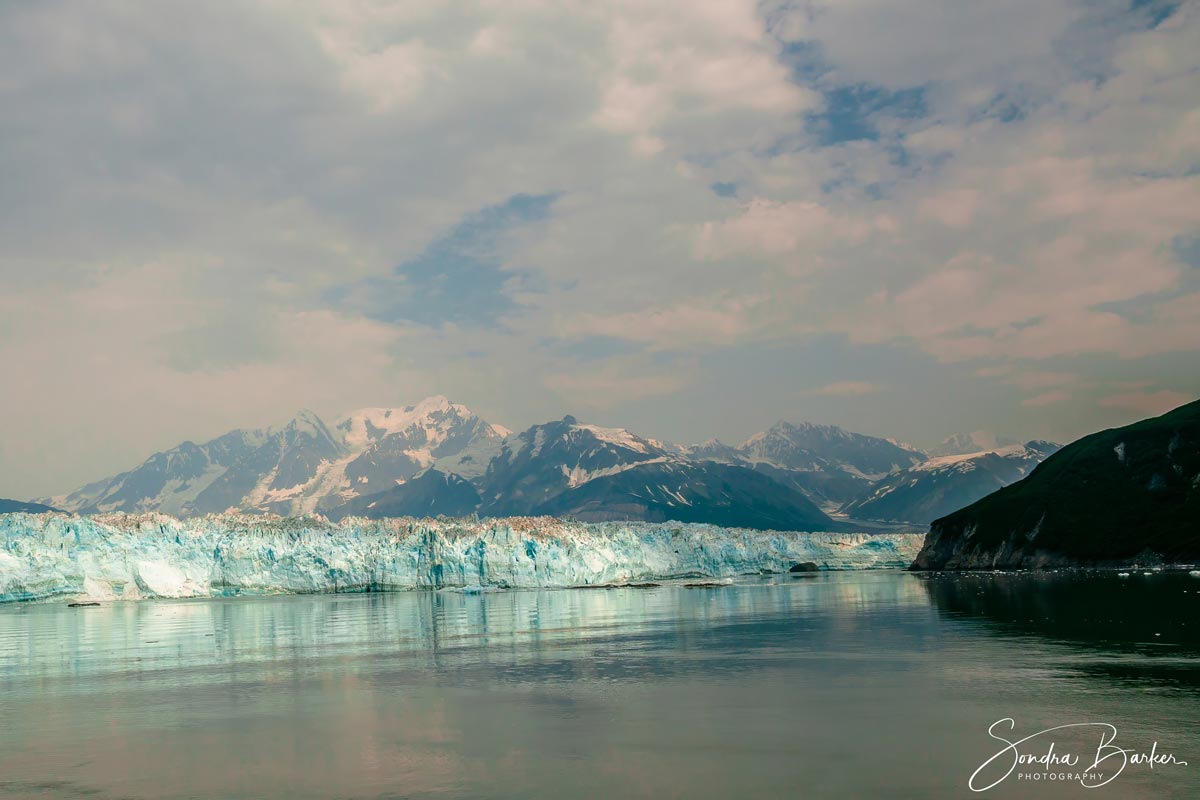
First, let’s talk about the best camera to use for Alaska Photography. While I own a traditional Nikon DSLR camera, this is not the type of camera I recommend for shooting in Alaska. Alaska is full of amazing scenery and wildlife which would require a landscape lens and a zoom lens. If you want to shoot wildlife, those zoom lenses need to be able to zoom in quite a distance. At least 600mm.
The biggest drawback of using a DLSR camera is weight. A large zoom lens attached to a DLSR camera can weigh as much as 10lbs. This doesn’t sound like much but in order to get a great shot, you sometimes have to be looking through the viewfinder and holding your camera for a very extended period of time. If you cannot hold the camera steady, you can miss the shot in the blink of an eye.
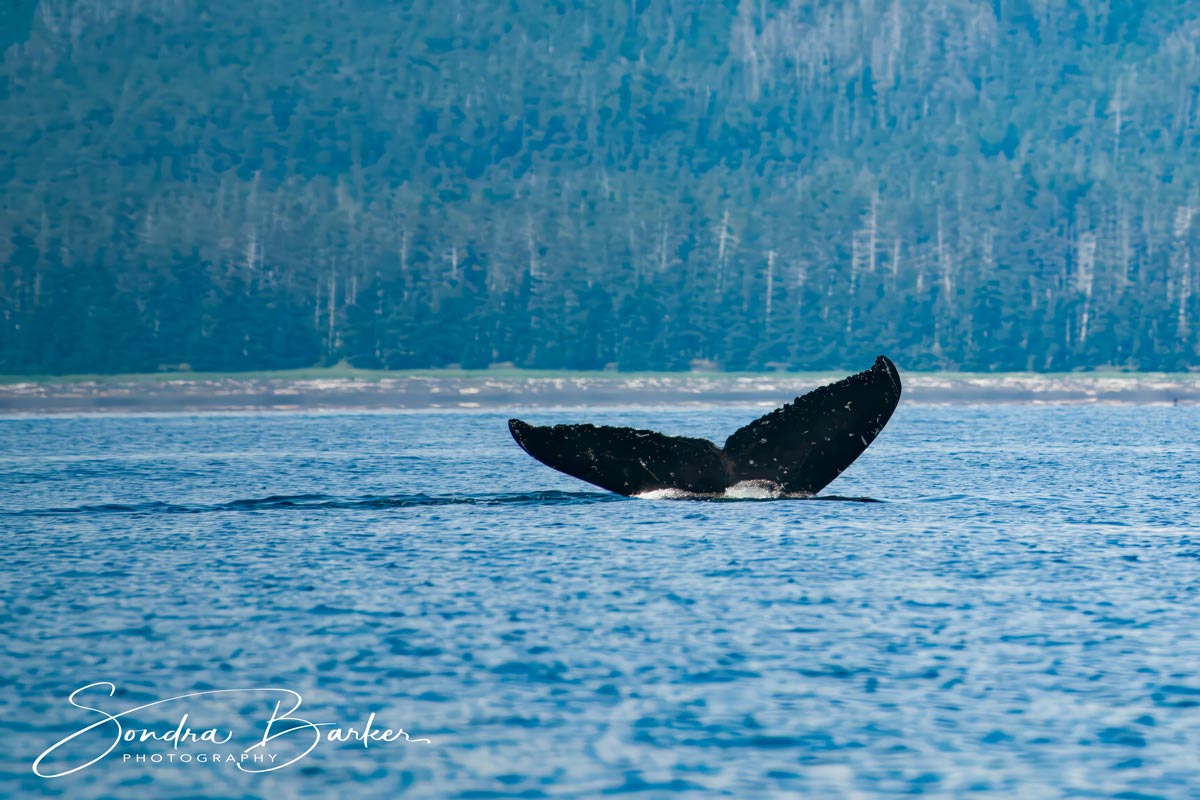
Let’s take the photo above as an example. In order to get this shot, I had to look through my viewfinder for 15-20 minutes. When whales breach, they dive back down in about 5 minutes giving the perfect opportunity to catch a whale tail photo. You then have to be ready for when they breach again.
For this reason, you want to use a lighter camera with zoom capabilities. There is really no better camera for this than the Sony RX10 IV which is a “bridge” camera. This means it has a built-in lens that will allow you to capture landscape photography at 24m and can then zoom in to take wildlife photography at 600mm in a matter of seconds.
The reason I recommend the Sony RX10 IV over other bridge cameras is because of the lens. This camera uses a Zeiss lens which is known for its amazing sharpness & picture quality. Every photo you see here was taken with this camera.
Best Camera Settings for Beginners
Now that you know the best camera to use, let’s discuss camera settings. If you are a beginner and have primarily only used your phone to take photos, you do not need to overcomplicate things. You can set your camera to take “Fine-Jpegs” and shoot in auto which will select the best settings for you.
Then I recommend shooting in Wide since we are focusing on Landscapes and Wildlife. For wildlife photos, you’ll want to set the camera in continuous which will follow the wildlife target as you’re shooting.
Shooting Alaska Photography is a rare opportunity and you do not want to use your trip as a time to learn photography. There is nothing wrong with just shooting in Auto settings and you will still get great photos.
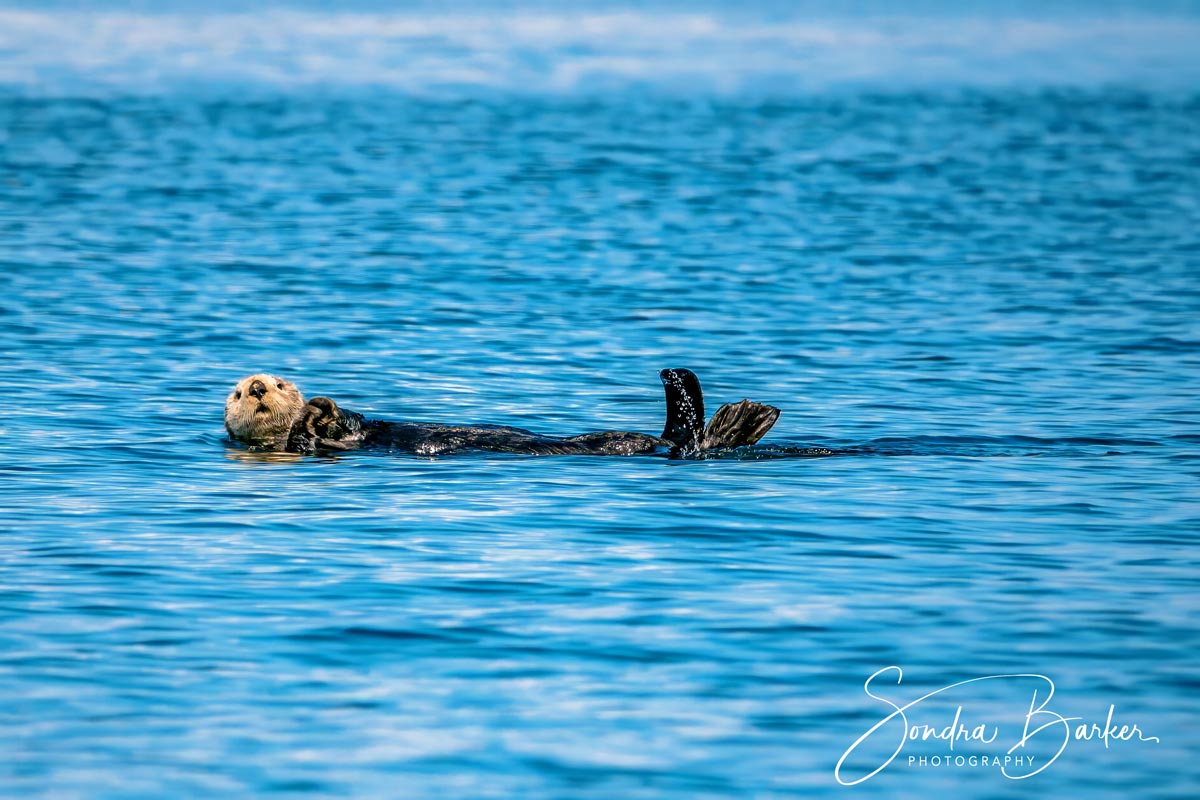
Best Camera Settings for Experienced Photographers
There are 3 main settings you need to know with photography. Those are your shutter speed, aperture (f-stop), and iso. I’m not going to overcomplicate this explanation. I’m going to explain it in simple terms and the way that I best understand this concept.
ISO
First, iso is easy, because for the sake of taking Alaska photography, we are going to keep it in auto. It’s OK if your photos have a little noise because we are going to fix that in our editing. The last thing we want to do is miss an amazing shot because we are fussing around with the camera settings.
Aperture
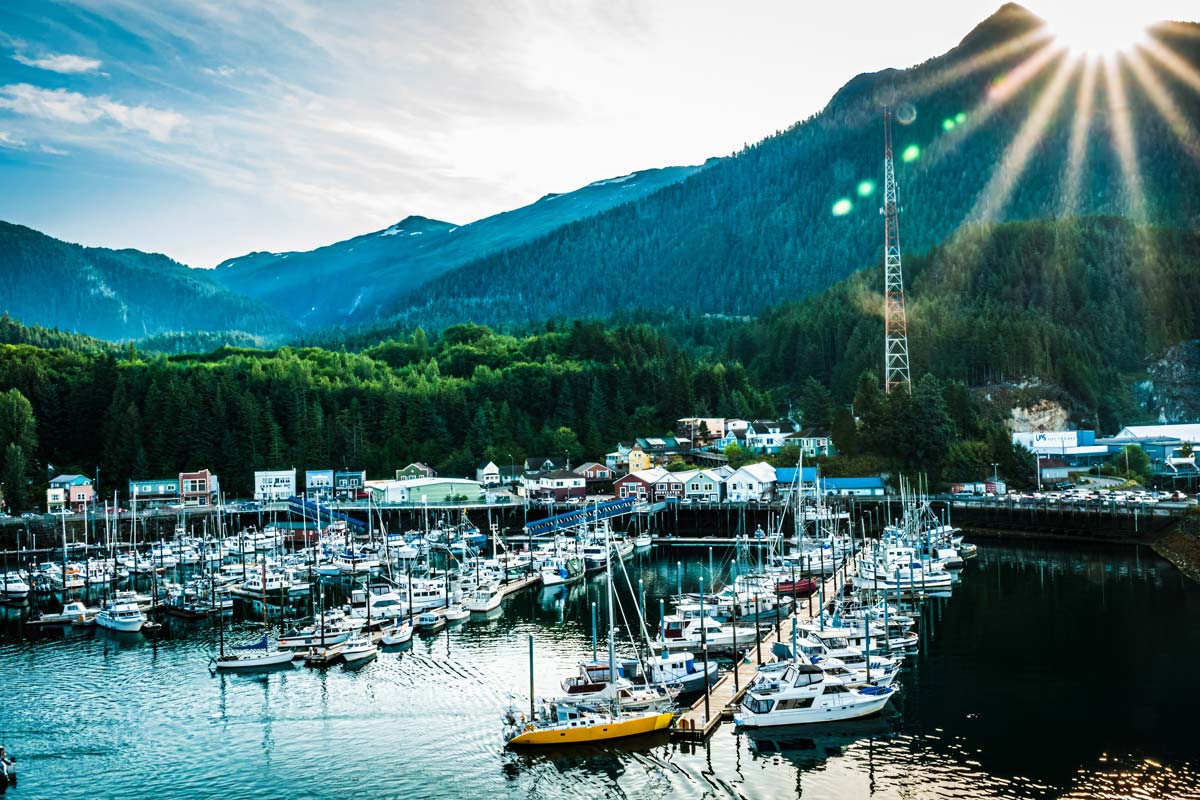
In almost every shot we are going to use f-stop 4.5. This is going to let in the most light. The only times I went above 4.5f was when I was trying to capture the sun’s rays like in the photo above. In this case, I went up to 16f. However, for standard landscape and wildlife, we are going to keep it at 4.5f.
Shutter Speed
Shutter speed seems complicated, but in reality, it is very simple. When you are photographing a moving object and you want it to look still on camera, you need to have a higher shutter speed setting. With the Sony RX10 IV, a higher shutter speed works better for capturing wildlife. Keep your shutter speed around 1400-2000 and your photos will be more sharp.
For Landscape photography, you can go down as low as 250 if you are on land. However, in Alaska, you may be on a boat or cruise ship. You will want to account for this movement. Whenever shooting on a cruise ship stick to 500 shutter speed and for a smaller boat in the ocean stick to 750 or even 1000 for landscape since those boats will have more movement.
If you bring a tripod on your cruise ship, you can reduce the shutter speed to 250-300 since the tripod will help reduce movement.
Exposure
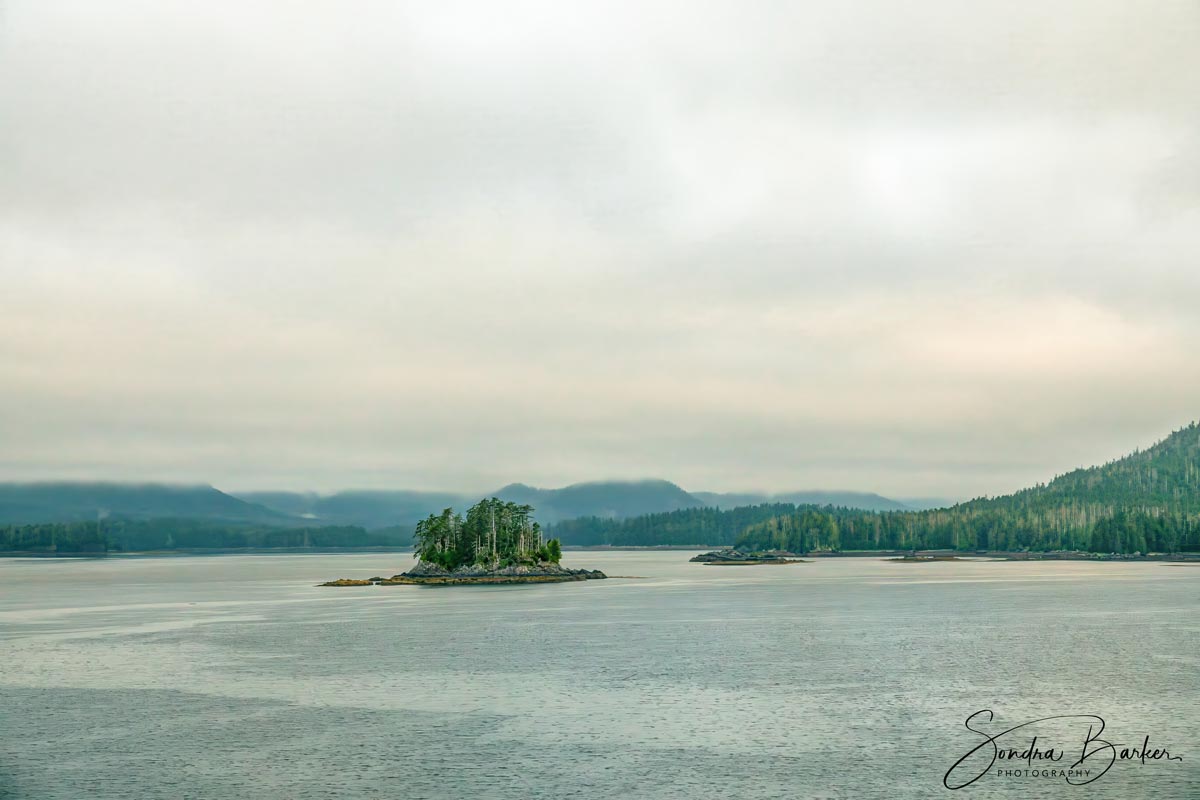
There may be certain scenes that seem too dark or too bright and this is when we will balance the photo by using the exposure. If your photo is too dark, increase your exposure and if it is too bright, decrease it. The exposure will allow us to adjust the brightness without playing around with the other settings.
Raw or JPEG
If you are an experienced photographer I highly recommend shooting in raw and then editing your photos to produce the best quality. In Raw, you will really be able to bring out fine details, make colors beautiful and vibrant, and reduce noise without losing detail.
If you are a beginner, shoot in fine jpeg.
Alaska Photography With Streams and Waterfalls
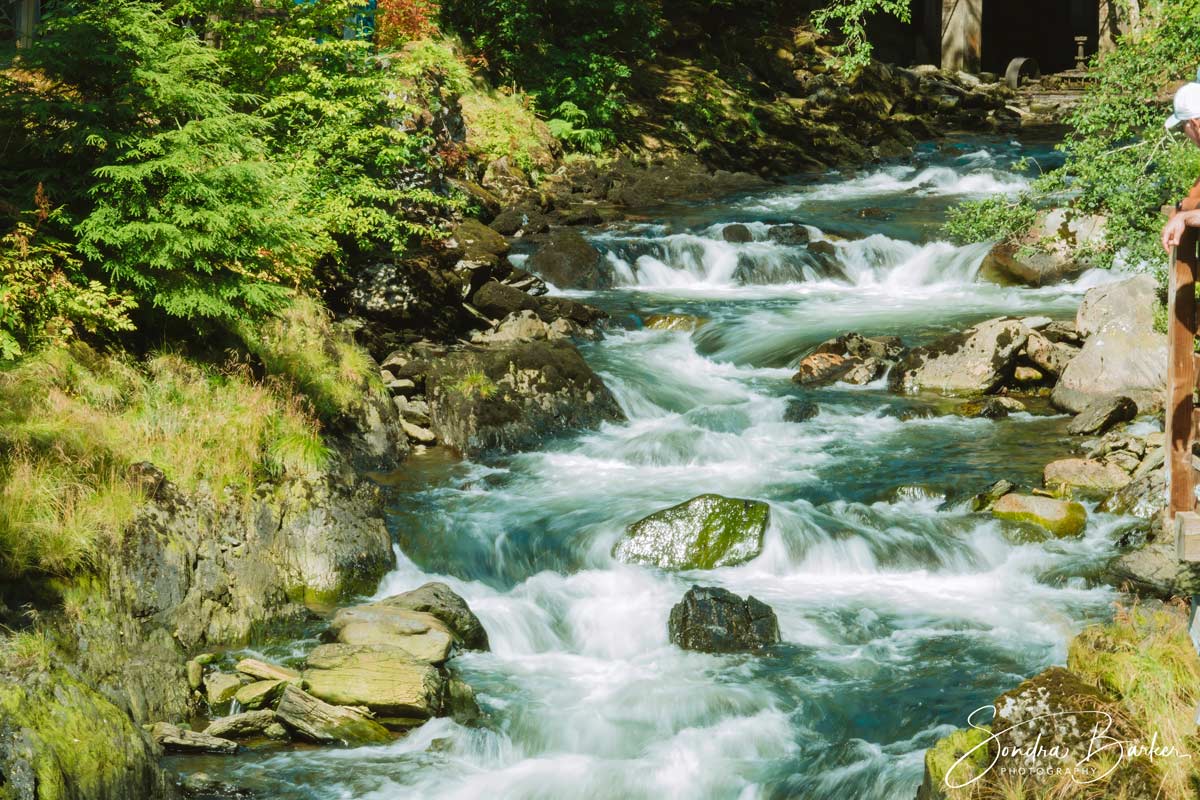
If you want to get this effect of moving streams and waterfalls, like in the photo shown above, you need to use a very low shutter speed. While many use a tripod for this type of picture, I balanced the camera on a wooden rail and set the shutter speed to as low as 1/3 up to 1/25.
Focus Settings
If you are using the Sony RX10 IV there are several focus settings, but for Alaska Photography the best setting to put your camera on is Wide. This is because the wide setting will cover both landscapes and Wildlife.
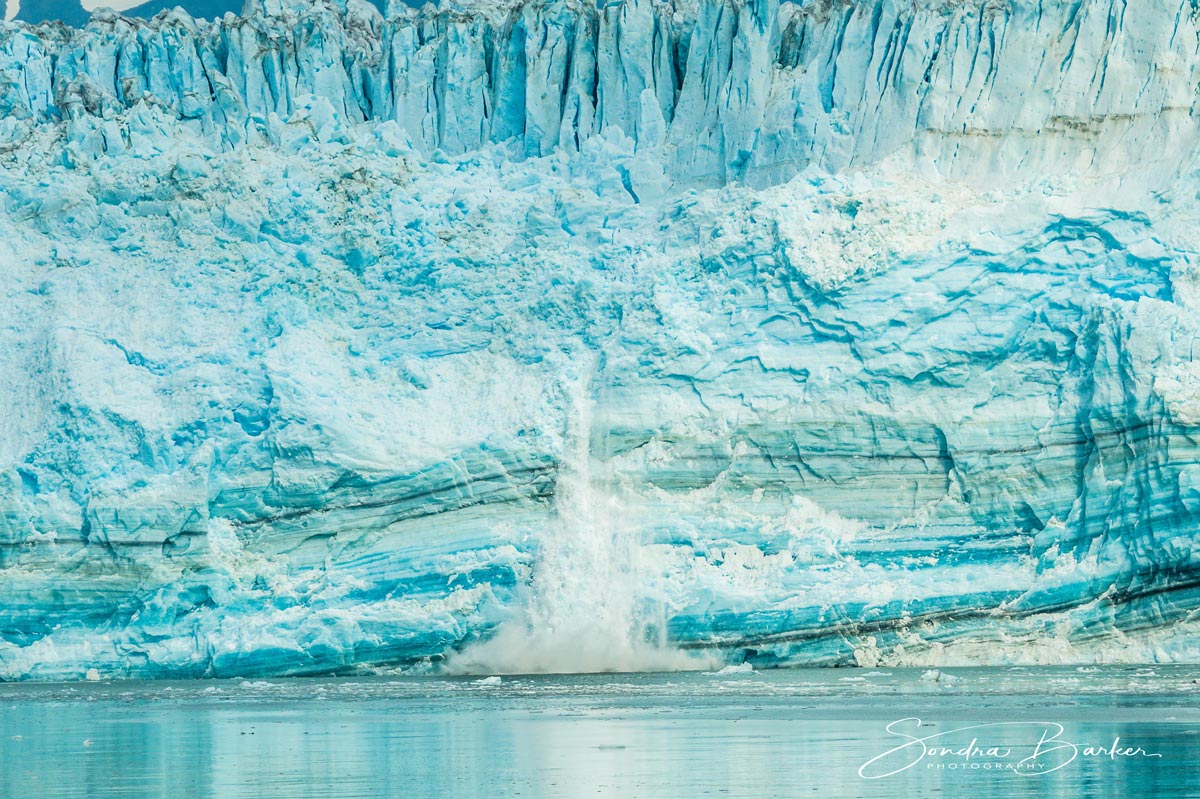
For Wildlife photography, you will notice a little knob at the bottom left of the camera. You are going to turn this to “C” for continuous. This will keep the focus continuously on your target when your finger is pushing halfway. This is not only great for capturing wildlife on the move, but I also used this setting in order to get photos of the Glacier calving. For regular landscape photography, you can keep this on single.
Camera Filters
For Alaska Photography I highly recommend purchasing a polarizing filter and an ND Filter. This is because so many of your photos will either be taken on the water or of the water itself. Water causes reflections which can affect the clarity of your photos, cause glares, and overexposure.
Polarizing filters are best used to cut the reflection of the water. ND (neutral density) filters are best for photos of running water and help reduce the light on very bright days. They also help improve the dynamic range of your photos.
Also, absolutely do NOT cheap out on your filter. It needs to be a good filter so it does not affect your photo quality.
Other Camera Equipment
If you are traveling to Alaska, you do not want to carry around a ton of equipment. It can truly take away from the enjoyment of your trip. This is why having a smaller, lighter camera is so important. There are only a few pieces of equipment I recommend bringing.
- Camera Rain Cover: It rains quite a bit in Alaska and you do not want the rain to stop you from taking amazing photos!
- Tripod: If you can add a tripod to your checked luggage, it’s worth bringing. While we were on our cruise in Alaska, I was able to put the tripod on the balcony during my Holland America cruise and take fantastic photos!
- Camera Remote: To reduce shake even more, I recommend bringing a simple camera remote. Another clever option is to just put your camera on a timer.
- Small Camera Bag: Ditch the large bulky camera bags and opt for something small and easy to carry around. This is the exact camera bag I used. It is so small and compact but still has room for batters, sd carbs, credit cards, and even my phone!
- Waterproof Backpack: If you do want a larger bag, for example, if you need to pack extra clothes, food, and water then having a waterproof backpack that protects your camera is a great idea.
- Extra Batteries: You do not want to be stuck taking photos and then run out of battery. Batteries can take a while to charge. I never travel without at least 4 extra batters, and do NOT forget your battery charger!
- Large SD Card: During amazing prime day you can often find great deals on SD cards. If you purchase a 256gb card it will likely last your entire trip, but it’s good to have a few as a backup.
Alaska Photography Photo Editing Tips
Now that you have some amazing photos, here are my tips for photo editing. I highly recommend using two programs which are Adobe Lightroom as well as the Topaz Software add-on.
Lightroom Editing Adjustments
In Lightroom when editing both landscapes and wildlife, here are some of the main settings and how I adjust them.
- contrast- increase
- highlights – decrease all the way
- shadows- increase almost all the way
- whites- increase slightly
- blacks- decrease slightly
- vibrancy- increase 50+
- saturation- slightly decrease
- clarity- increase 50+
- sharpness- increase 50+
In Lightroom, you can also adjust the colors and I typically will reduce the saturation of yellows and increase the color of the greens to make them less yellow. I also like to increase the saturation of reds and orange.
Alaska also can have quite a lot of fog, and the dehaze feature is great for this.
Topaz Software
The Topaz software is absolutely amazing and I highly recommend it to any photographer looking to take extra noise out of their photos without losing detail. It creates a beautiful picturesque final photo that is just breathtaking and looks like it belongs in a photo gallery. Maybe I do not give my photography enough credit, but this software is great.
I hope you found these Alaska Photography tips helpful I always appreciate your feedback so please comment below. Also, if you have any questions please do not hesitate to ask in the comments. I try to be very responsive. Being able to visit Alaska is such a wonderful opportunity and I hope these tips help you bring back the most amazing photography!
Discover Our Travel Guides
View all of our travel guides and get tips on things to do, where to stay, and what to eat at each destination.

 Sondra Barker
