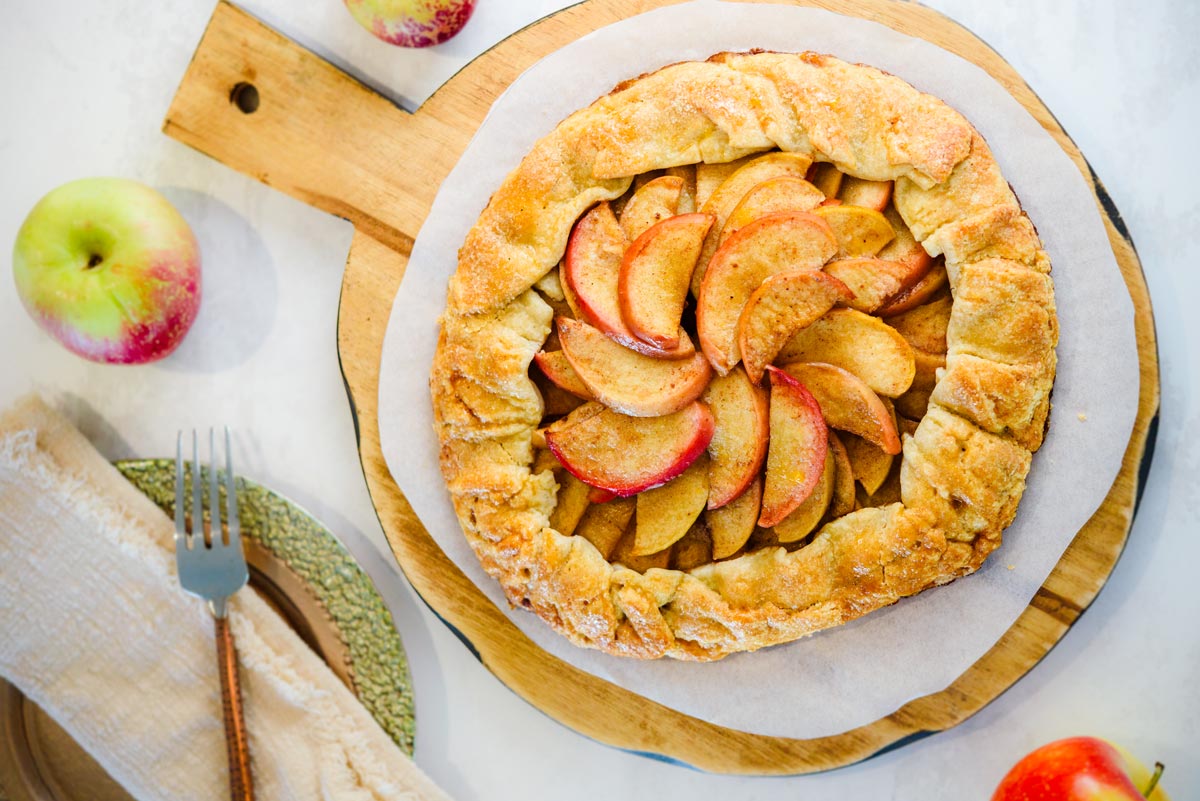
If you’re challenged in the kitchen, not to worry, this is an easy apple galette recipe that will impress even the pickiest of eaters. This recipe is always such a hit for the holidays, that I’ve completely stopped making overly complicated desserts. Once you discover how delicious and easy these galettes are they will become one of your favorite recipes.
- What is a Galette?
- Ingredients
- How to Make This Easy Apple Galette
- Slice Apples
- Mix Ingredients
- Roll Out Dough & Arrange Apples
- Fold & Brush Crust
- Bake Galette
- Cool & Transfer
- What is the Difference Between Parchment Paper and Wax Paper?
- Apple Galette Tips
- Serving Suggestions
- Storage and Re-heating
- Enjoy More Apple Dessert Recipes
- About The Author
What is a Galette?
Think of a galette as a deconstructed free-form pie that resembles an open-faced pie. You do not have to worry about having a pie dish or creating a fancy lattice topping. An apple gives you all the flavor and satisfaction of a traditional apple pie, but without all the work. Galettes are simple, easy to make, and fool-proof. This is a wonderful dessert for a beginner or someone who is not so savvy around the kitchen, however, it’s so beautiful that it’s perfect for seasoned chefs as well. I love the look of this rustic apple galette. The best part is that it’s not complicated and still impresses.
Ingredients
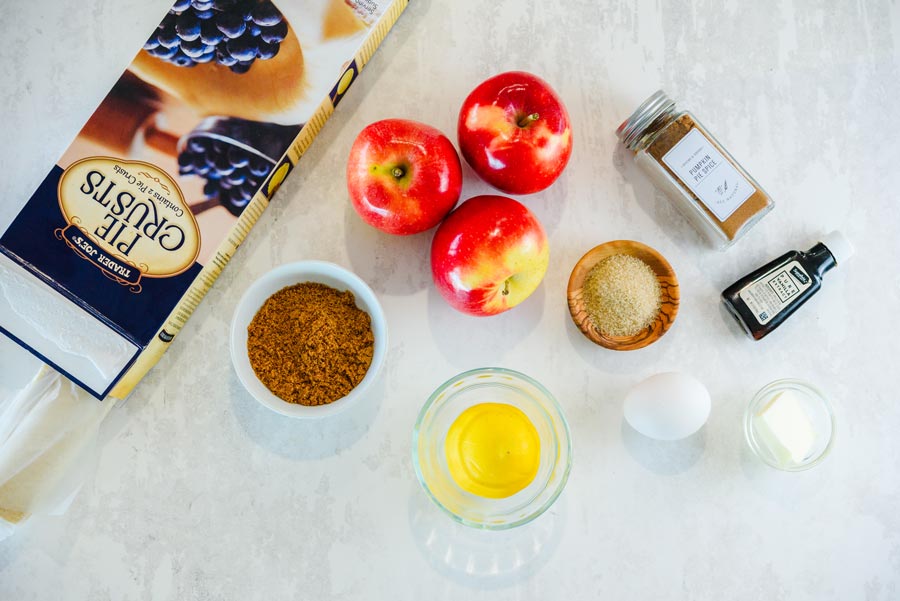
Making this easy apple galette only takes a few ingredients. Here are some tips that will help you master this recipe.
What are the Best Apples for an Apple Galette?
When making this easy apple galette, you want to choose the right apple variety. Avoid apples that are too soft and opt instead for firm crisp apples that will bake well. Additionally, it’s also best to choose a tart apple or use a mix of sweet and tart apples.
I always enjoy including two different types of apples. Below is a list of apple varieties that I personally think work best for baking. We have a Fuji apple tree in our yard so I like to add the Fuji apples from our tree with Granny Smith apples that are a bit more tart.
- Pink Lady (sweet & tart)
- Honeycrisp Apple (sweet & tangy)
- Red Delicious (sweet)
- Granny Smith (tart)
- Fuji (sweet)
Spices
This is meant to be a simple and easy apple galette recipe. You do not need to overcomplicate the recipe by adding a bunch of different spices unless you want to. The easiest spice to add to an apple galette is Pumpkin Pie Spice since it already contains a blend of cinnamon, nutmeg, ginger, and allspice. Some also contain cardamon and cloves. I like to select a pumpkin pie spice that includes cloves like the 365 Whole Foods Pumpkin Pie Spice.
Pie Crust
If you want to make a homemade pie crust you certainly can, but when I make this easy apple galette recipe, I want something that is quick and easy. I do not make my own crust. My favorite pie crust is from Trader Joe’s.
*Do NOT use a pie crust in a pan. You need to use the pie crust that you roll out.
How to Make This Easy Apple Galette
Slice Apples
First core and slice your apples. Whether you use a vegetable slicer is completely up to you. I love my slicer and also use it to make my amazing scalloped potatoes! With that being said, your apple slices do not need to be perfect. You could also peel your apples and add them in chunks, but I personally like the way they look sliced.
Mix Ingredients
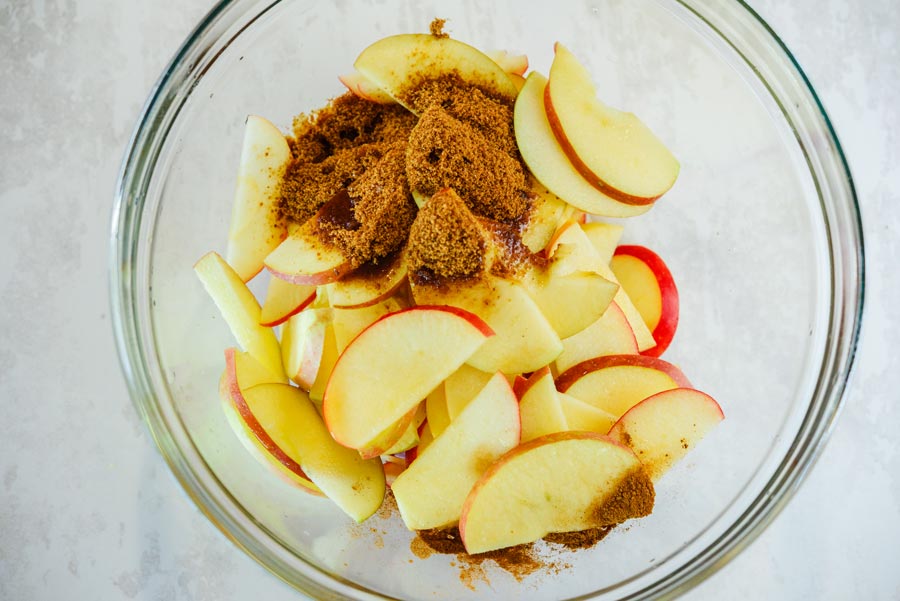
Once sliced, add your apples to a large bowl with the lemon juice, vanilla extract, pumpkin pie spice, brown sugar, and a pinch of sea salt. Use a baking spatula to gently mix the apples so they don’t break.
Roll Out Dough & Arrange Apples
Then roll out your dough and place it on a piece of parchment paper on a baking sheet. Any pieces of the dough that separate can just be pinched back together.
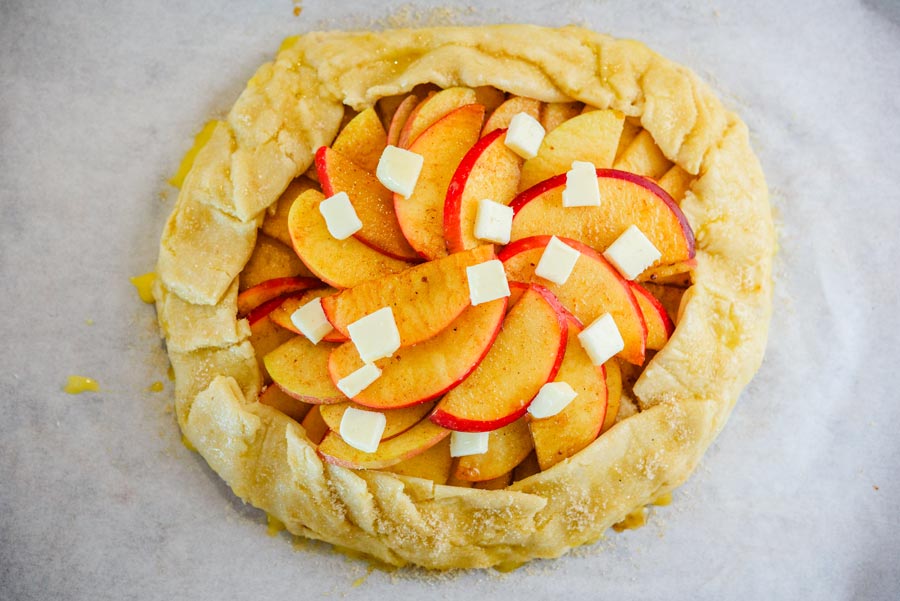
Next, starting about an inch from the outer edges of the dough, begin placing your apples in the center of the pie crust, overlapping them in a spiral shape. Alternatively, you can also just dump all the apples in the center of the pie dough.
Fold & Brush Crust
Then fold the outer inch of the dough over the apples all the way around. You do not have to create a perfect circle. Take your eggs wash and then using a pastry brush, brush the edges of the pie crust. Sprinkle the folded edges of the crust with a coarse sugar like Turbinado sugar also known as raw sugar.
Bake Galette
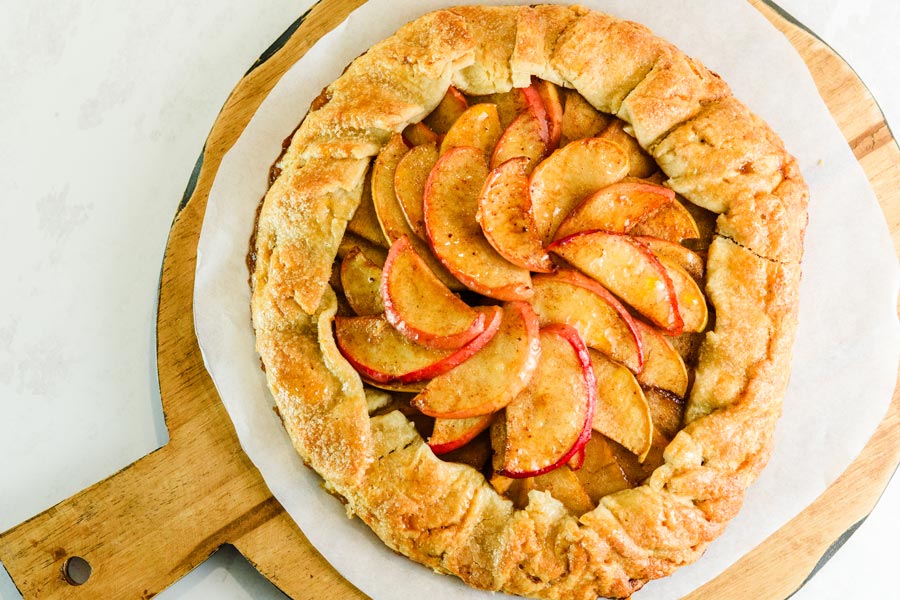
Finally, cut a tablespoon from a stick of butter and cut it into small square pieces. Place them over the top of the apples. Place your galette in a pre-heated oven and bake at 350° for 45 – 50 minutes until the crust is a nice golden brown.
Cool & Transfer
When your galette has finished baking, remove it from the oven and let it cool down to room temperature before transferring it to your serving board. This is very important as when your galette comes out of the oven it will be soft and can easily break if you try to move it before letting it cool.
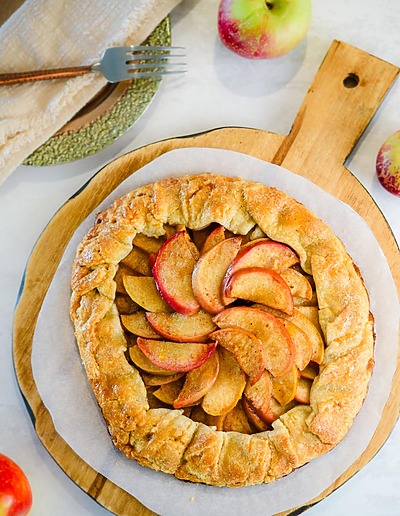
I also like to line the serving board or tray with parchment paper. When transferring, use two large flat spatulas. For my galette, I used a round wooden board and cut the parchment paper in the shape of the board. This is also really helpful if you aren’t serving it right away and may need to reheat it. You can also use a pie plate. By placing parchment paper at the bottom, you can quickly and easily transfer it to a baking dish for reheating and then grab the parchment paper to move it back onto the serving dish.
What is the Difference Between Parchment Paper and Wax Paper?
Always use parchment paper when baking anything in the oven. Wax paper will melt in the oven at high temperatures. Parchment paper on the other hand is oven-safe and will prevent your foods from sticking.
Apple Galette Tips
Here are some helpful & important tips to keep in mind when making this easy apple galette recipe.
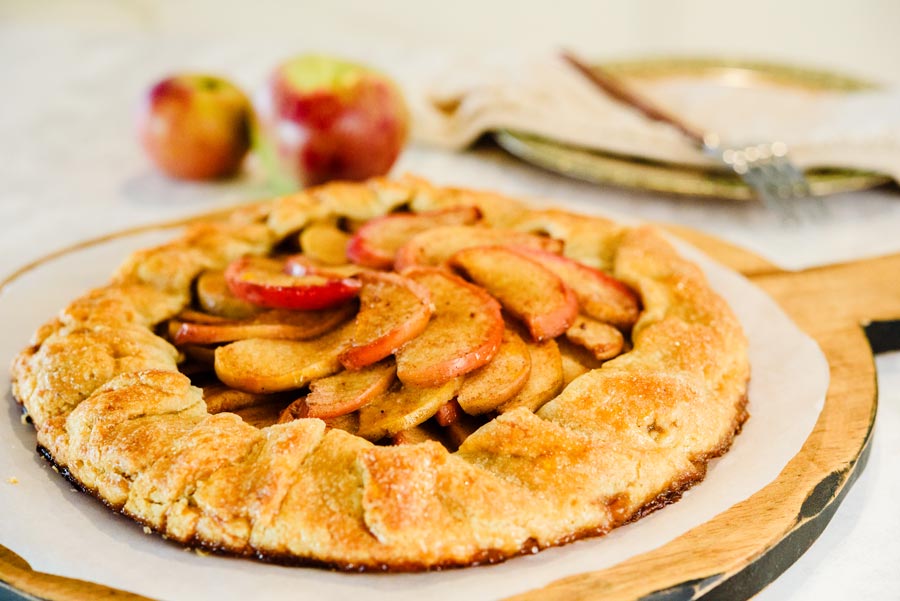
- First, if you want your apple slices to look perfect like the ones in these photos, use a vegetable slicer so they are all the same thickness. If not, you can just slice them however you want or even peel your apples and get them into chunks. It’s completely up to you.
- Make sure to defrost your dough in the refrigerator and then place it out on the counter for a few hours so it is completely defrosted. If it’s still frozen you can put it in the microwave for 10 seconds at a time until it is thawed.
- When rolling out your pie crust, if it splits, do not panic. Just pinch the pieces of crust back together and no one will even notice. This is yet another perk I love about making galettes.
- If the juices spill onto the parchment paper, also do not worry. Just gently use a spatula to loosen the crust from the parchment paper and ignore it.
- Wait until your galette is completely cool before removing it.
- If you want your galette to have a glossy sheen like a fruit tart, just mix 2 tablespoons of apricot jam with a teaspoon of water and gently brush over the apples and crust.
Serving Suggestions
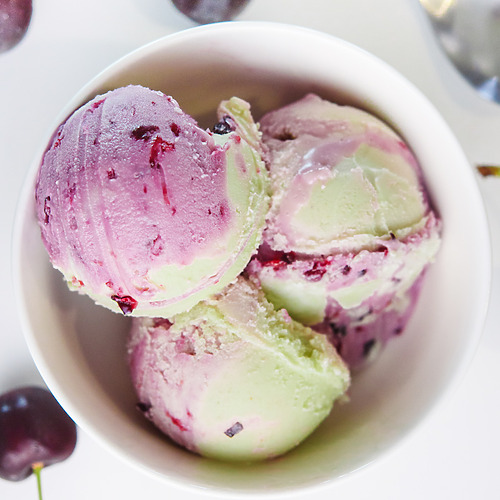
I enjoy serving my simple apple galette with unique ice cream flavors instead of just a scoop of vanilla ice cream, but this is completely a preference. I’ve served my apple galette with churro ice cream and most recently a gingerbread ice cream. They were both popular and complimented the dessert wonderfully.
You can also drizzle caramel sauce over the entire galette. Though I’ve opted not to do this, Tostino’s caramel sauce works really well as a drizzle.
Storage and Re-heating
If you aren’t serving your apple galette right away, you can place saran wrap over the top and store it on the counter for 1-2 days or in the refrigerator for 3-4 days.
The galette can be reheated in the oven for 5 minutes at 350°. I prefer to make this a day in advance so when I’m hosting, I have less to worry about.
Enjoy More Apple Dessert Recipes
Best Easy Apple Galette Recipe
EQUIPMENT
- 1 baking sheet
- 1 Veggie Slicer optional
Ingredients
- 1 whole pie crust I like Trader Joe's Pie Crust
- 3 Large apples Fuji & Granny Smith Apples
- 1 tbsp lemon juice fresh squeezed
- 1 tsp vanilla extract
- 1 tbsp pumpkin pie spice
- ½ cup brown sugar
- 1 tbsp butter cut into small cubes
Egg Wash
- 1 large egg
- 1 tbsp water
Garnish
- 2 tbsp sugar raw sugar or turbino
Instructions
- Pre-heat your oven to 350°
- First core and slice your apples. Whether you use a vegetable slicer is completely up to you, your apple slices do not need to be perfect.
- Once sliced, add your apples to a large bowl with the lemon juice, vanilla extract, pumpkin pie spice, brown sugar, and a pinch of sea salt. Use a baking spatula to gently mix the apples so they don't break.
- Then roll out your dough and place it on a piece of parchment paper on a baking sheet. Any pieces of the dough that separate can just be pinched back together.
- Next, starting about an inch from the outer edges of the dough, begin placing your apples in the center of the pie crust, overlapping them in a spiral shape. Alternatively, you can also just dump all the apples in the center of the pie dough.
- Create your egg wash by whisking your egg and a tablespoon of water. Put to the side.
- Then fold the outer inch of the dough over the apples all the way around in the shape of a circle. Take your eggs wash and using a pastry brush, brush the edges of the pie crust. Sprinkle the folded edges of the crust with raw sugar.
- Finally, cut a tablespoon from a stick of butter and cut it into small square pieces. Place them over the top of the apples.
- Place the apple galette in the oven and bake at 350° for 45-50 minutes until the crust is golden brown.
- Remove the galette from the oven and let it cool down to room temperature before transferring it to your serving board.
- Line a serving board or tray with parchment paper. When transferring, use two large flat spatulas to transfer.
Notes
- For my galette, I used a round wooden board and cut the parchment paper in the shape of the board. This is also really helpful if you aren’t serving it right away and may need to reheat it. You can also use a pie plate. By placing parchment paper at the bottom, you can quickly and easily transfer it to a baking dish for reheating and then grab the parchment to move it back to the serving dish.
- It’s very important to let your apple galette cool before transferring as when your galette comes out of the oven it will be soft and can easily break if you try to move it before letting it cool.
Nutrition

About The Author



 Sondra Barker

